


23
Jul

Date
25 August 2026
Author
Greg Eden
Estimated reading time
9 minutes
Installing an Isotherm fridge is a great upgrade for boat owners who want reliable, efficient cooling that fits neatly into a marine setup. Whether you are replacing an older unit or fitting a fridge into a new space, a careful installation will help the fridge perform better and last longer.
At JPC Direct, we often speak to customers who want a straightforward explanation of what is involved before they commit to a purchase or installation. This guide walks you through the process in clear, practical steps, while also explaining why Isotherm is such a popular choice for marine refrigeration.
A good Isotherm fridge installation starts with choosing the right model, checking the cabinet space, and making sure there is proper ventilation around the compressor. Using the correct mounting frames, where needed, helps create a neat, secure, and efficient installation that works well on board. The Isotherm Power Pack provides an easy solution to connecting to shore power when required.
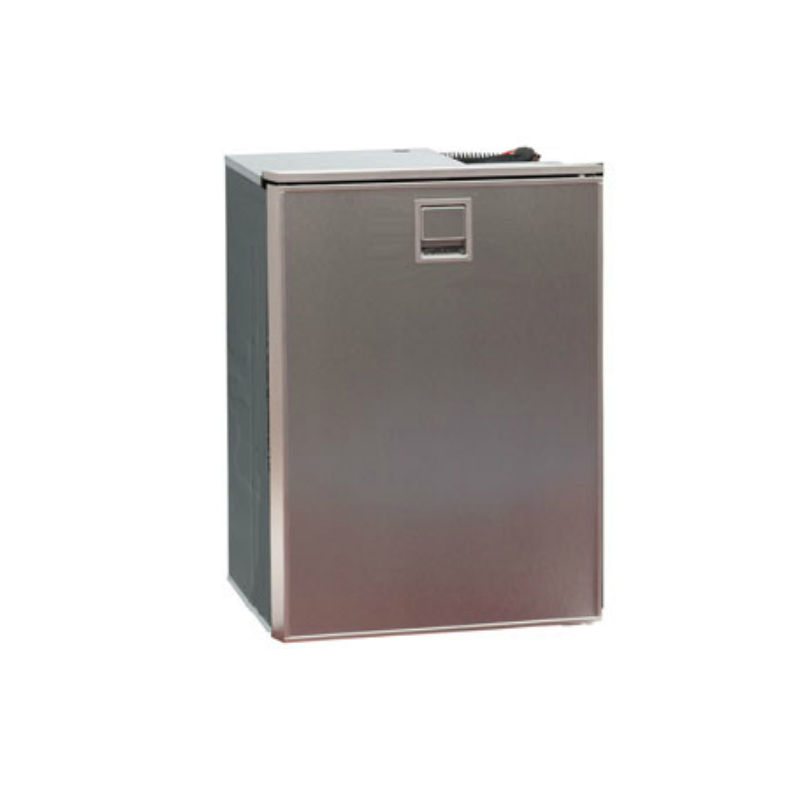

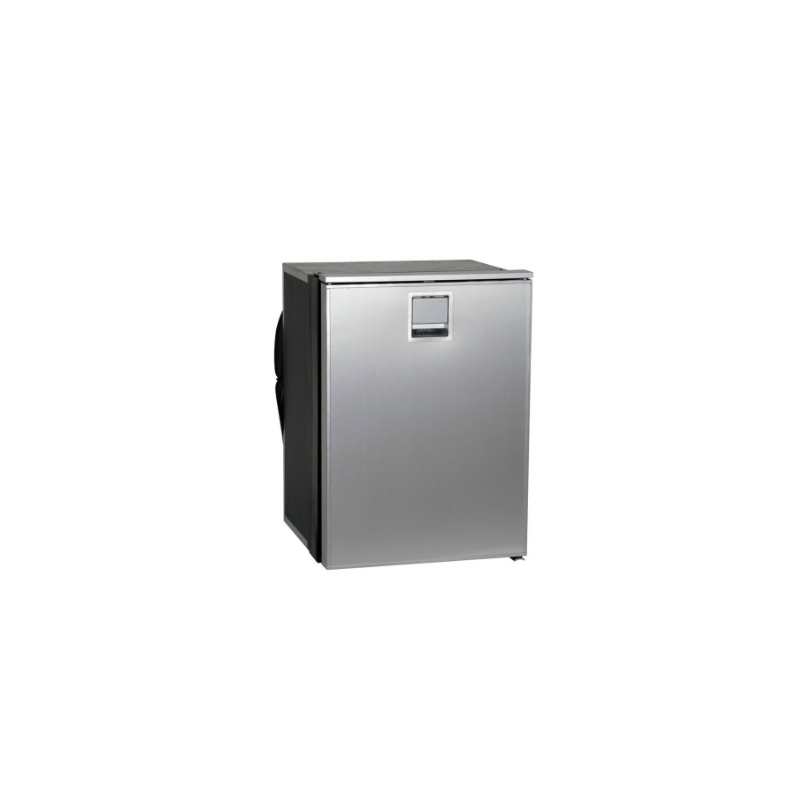
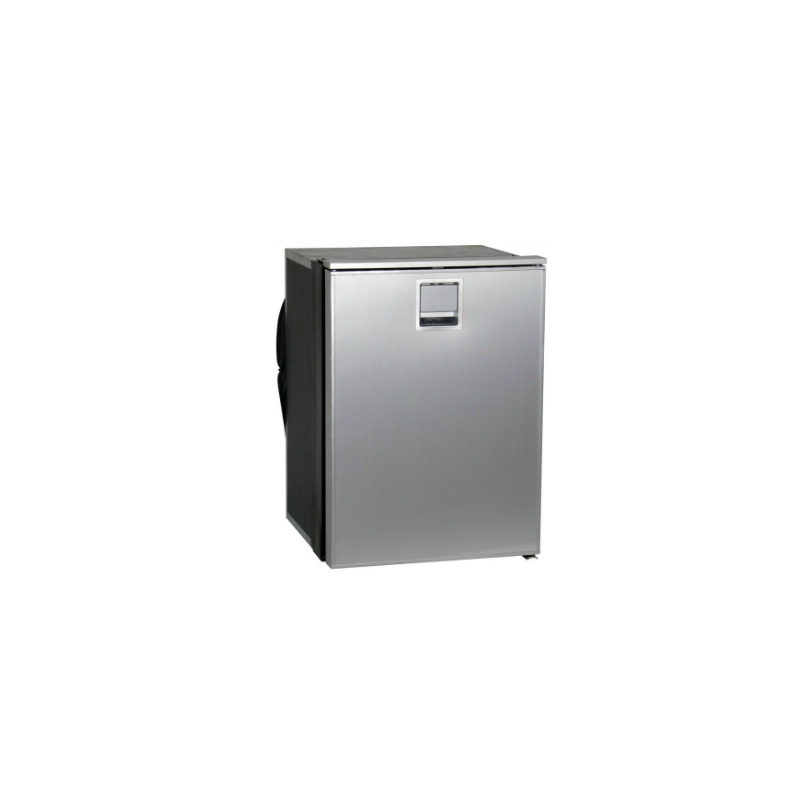
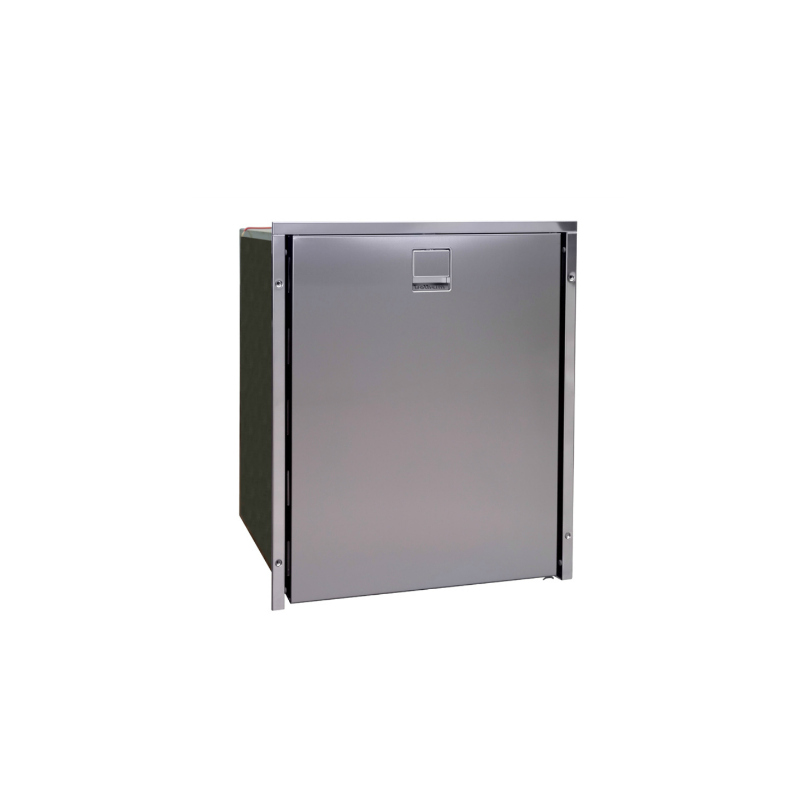
Isotherm is widely recognised as a leading name in marine refrigeration, with a strong reputation for efficient, reliable, and space-conscious fridge design. Their range is built for life on the water, where low power use, compact dimensions, and dependable cooling all matter.
The Cruise Elegance range is a good example of that approach. These fridges are designed with thicker insulation, efficient compressor technology, and installation-friendly features such as mounting frames, internal anchoring options, and ready compatibility with energy-saving systems.
Before fitting any Isotherm fridge, it is worth checking the dimensions, access, and ventilation requirements carefully. A fridge that looks perfect on paper can still be awkward to install if the surrounding cabinetry is too narrow, or shallow, or if the airflow is restricted.
You should also confirm whether you need a remote compressor, a mounting frame, or an auxiliary power solution such as the Isotherm Power Pack. Getting these details right at the start will save time later and help ensure the installation is clean and reliable. NB: The Isotherm Power Pack will only be required if you regularly use shore power.
The first step is selecting the fridge that suits your boat and your storage needs. The Cruise Elegance range includes several sizes, so you can match the unit to the space you have available and the amount of cold storage you need.
For smaller spaces, the Cruise Elegance 42 is often a strong fit. For mid-size installations, the Cruise Elegance 65 or 85 may be more appropriate. Larger boats or users who need more storage may prefer the 130-litre model.
| Model | Capacity & Dimensions | Typical Use | Notes |
| Cruise Elegance 42 | 42L – H: 52.5 cm W: 38.0 cm D: 34.8 cm | Compact installs | Good for smaller boats or tight spaces |
| Cruise Elegance 49 | 49L – H: 52.5 cm W: 38.0 cm D: 45.2 cm | Small to mid-size installs | Good balance of storage and footprint |
| Cruise Elegance 65 | 65L – H: 53.0 cm W: 45.0 cm D: 47.3 cm | Mid-size boats | Popular all-round option |
| Cruise Elegance 85 | 85L – H: 62.7 cm W: 47.5 cm D: 50.5 cm | Larger day boats and cruisers | More storage without becoming oversized |
| Cruise Elegance 130 | 130L – H: 75.0 cm W: 52.5 cm D: 51.0 cm | Larger boats and yachts | Best for bigger galley layouts |
Once you have chosen the fridge, prepare the cabinet or aperture carefully. The goal is to create a flat, secure space that allows the fridge to sit correctly and operate efficiently.
It is important not to force the unit into a space that is too tight. You want enough room for installation, servicing, and ventilation, especially around the compressor area.
Mounting frames help create a tidy, secure installation and are especially useful where you want a clean finish around the front of the fridge. They can also help the fridge sit properly within the cabinet opening. The options are flush-mounted (door flush with adjoining cabinetry) or proud-mounted (door protruding from surrounding cabinetry).
For many Isotherm installations, the mounting frame gives the fridge a more integrated look while also helping with stability. This can be especially useful on boats, where movement and vibration are part of everyday use.
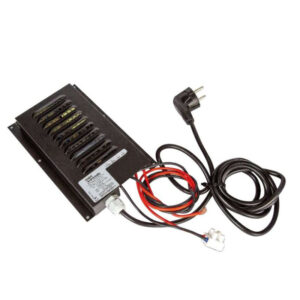
The Isotherm Power Pack is a useful option where you need a complete and convenient power solution for the fridge installation. It ia a simple plug-and-play solution to allowing your fridge to use shore power, rather than battery power, and really helps to simplify the process.
Once the unit is in position, make sure it is properly secured and level. A fridge that is not seated correctly can look untidy and may not perform as well over time.
This is also the stage where you should double-check the alignment of the door, the accessibility of the controls, and the overall finish. A good installation should look neat and function without fuss.
Before finishing the job, test the fridge carefully. Check that it powers up correctly, cools as expected, and has enough airflow around the compressor.
It is also a good idea to leave the fridge running long enough to confirm stable operation. If there are any signs of poor cooling, noisy running, or restricted airflow, it is better to address them immediately rather than after the installation is complete.
The Isotherm Cruise Elegance range is popular because it combines smart design with practical marine-friendly features. These fridges are built for efficient performance and are available in a range of capacities, making them suitable for many different boat layouts.
They are also prepared for energy-saving technology such as Smart Energy Control, which is useful for boat owners looking to reduce battery use. For many customers, that combination of efficiency, build quality, and flexible installation makes Cruise Elegance a strong choice.
At JPC Direct, we help customers choose marine products that genuinely fit the boat, the space, and the way they use it. If you are planning an Isotherm fridge installation, we can help you think through the right model, the mounting options, and the practical details before you buy.
A good fridge installation should feel simple, neat, and dependable. That is exactly what Isotherm is designed to deliver.
The best installation starts with accurate measurements, good ventilation, and the right mounting method. Using a mounting frame where needed helps create a secure, professional finish. If the setup includes a separate compressor or Power Pack, those should also be positioned with airflow and access in mind.
Not always, but a mounting frame often makes installation easier and gives a neater finish. It helps secure the fridge in place and is especially useful when fitting the unit into a custom cabinet opening. It also supports a more polished look on board.
AC-to-DC Conversion: It changes standard AC mains voltage (100–240V AC, 50/60 Hz) into a stable, regulated 24V DC output.
Shore Power Operation: It lets you plug your boat, caravan, or mobile fridge directly into land-based AC power outlets or generators without draining your onboard batteries.
Compressor Compatibility: It is specifically engineered to match the power absorption curves of Secop/Danfoss BD35F and BD50F compressors used in Isotherm fridges and freezers.
UK Plug Variant: The HA designation with this specific part number includes an integrated UK-style 3-pin plug for British standard outlets.
Protection Features: It provides built-in thermal safety, stabilization, and overload protection against power fluctuations in marine environments.
Cruise Elegance fridges are popular because they combine low power use, strong insulation, and flexible installation options. They are built for marine environments and suit a wide range of boat sizes. Many models also work with energy-saving technology that helps reduce battery consumption.
The Cruise Elegance 42 is often a good choice for smaller boats or tight installation spaces. It offers compact dimensions while still delivering practical cold storage. For slightly more room, the 49 or 65 models can be worth considering depending on the available cabinet space.

23
Jul
20
Jul

16
Jul

09
Jul

08
Jul

06
Jul

13
Apr

09
Apr

15
Feb

06
Jan

28
Sep

22
Sep

18
Jul

14
Jul

14
Jul

14
Jul

14
Jul

14
Jul

08
Jul

05
Jul

11
Mar

15
Sep

19
Aug

29
Jul